
It’s official—I’m getting into air dry clay!
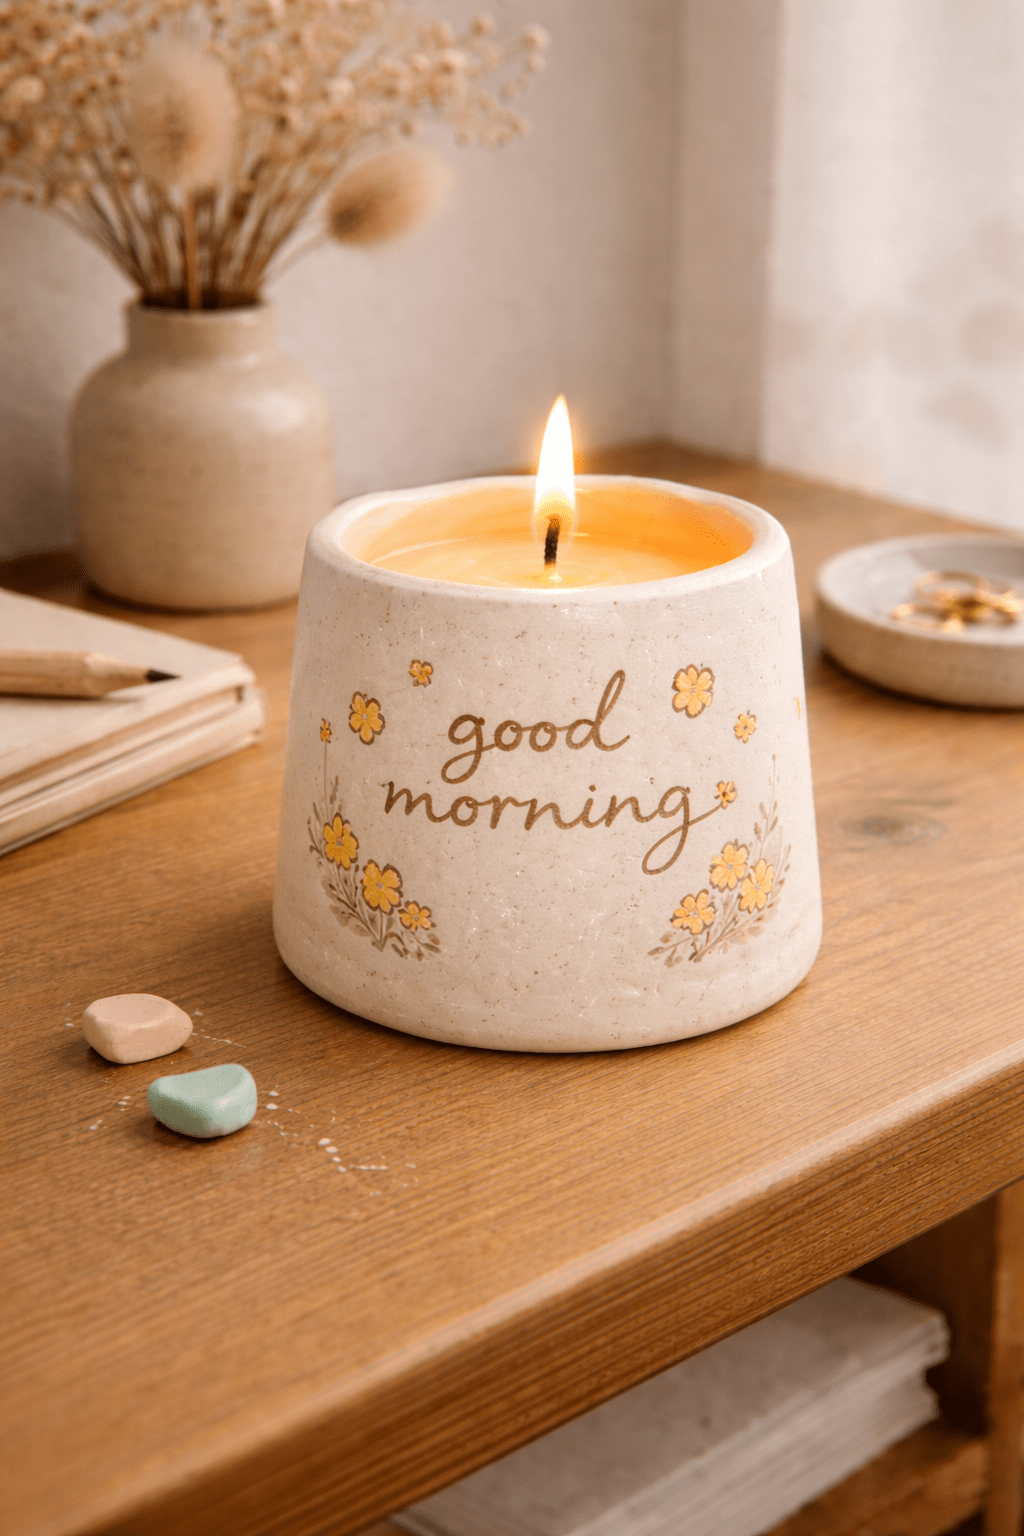
It requires no special equipment, perfect for home use. It’s soft and forgiving while versatile enough for various projects. My current plans include candle holders 🪔, decorative ornaments like fridge magnets 🌼, and small bowls or planters 🪴!
I spent the morning researching, and here are my notes:
Basic Materials & Tools
- Air dry clay (my choice: £2.99 for 500 g)
- Clay tools (my choice: £6.99 for a 13-piece set)
- Clay glaze (my choice: £14.99 for 2 × 50 ml – glossy and matte)
- Optional: Gesso primer (my choice: £13.56 for 1 L)
- Optional: Sanding block (my choice: £5 for a 3-piece set)
- Optional: Acrylic paint (I already have some)
- Optional: Rolling pin (I’ll be creative about this…)
Essential Steps
- Prepare Workspace (5 minutes)
Cover surface with non-stick material like baking paper or a silicone mat. - Optional: Condition Clay (5 minutes)
Knead a small piece until soft and pliable, removing air bubbles. - Roll, Cut, and Shape (10-15 minutes)
Roll out clay with a rolling pin, then cut or hand-shape it (the fun part!). - Join Pieces (5 minutes)
Score surfaces, apply slip (clay-water paste), press together, and blend seams. - Dry Clay (24-72 hours)
Air dry on a rack; thicker pieces take longer. - Optional: Apply Primer (10 minutes)
Apply 1-2 thin layers of gesso to fill cracks and help paint stick. - Optional: Paint and Decorate (30 minutes)
Apply acrylics with brushes once dry and let colors dry. - Seal Finish (5 minutes + 3 hours dry)
Brush on varnish in thin coats to make it water-resistant and more durable.
Other Items You Can Make
- Personalised name tags
- Jewellery (earrings, beads, pendants)
- Keychains
- Decorative bowls and trays
- Wall hangings
- Coasters
Tips for Best Results
- Keep hands or clay surface damp during work to prevent premature drying.
- Store leftover clay wrapped in cling film in an airtight container.
- Speed up drying with a fan or bake at 93°C (200°F) for max 20 minutes.
- Avoid direct sunlight or heat sources during drying to prevent uneven shrinkage.
- Sand lightly once dry for a smooth surface before priming or painting.
Limitations & Alternatives
It’s not fully waterproof, can chip or crack easily, takes 24-72 hours to dry, and isn’t food-safe. Here are some alternatives.
- Polymer Clay (Oven-Bake)
Requires oven baking at specific temperatures for 15-30 minutes. Offers superior durability, waterproofing, and impact resistance. - Epoxy Clay
Mix two parts to air-harden into an ultra-durable, waterproof finish. Perfect for outdoor decorations, repairs, and high-strength items. - Ceramic Clay (Kiln-Fired)
Needs kiln firing over 1000°C. More complex with specialised equipment, but creates permanent, functional pottery, dinnerware, and sculpture.
What’s Next
I’ll trial and error with some projects and update my YouTube channel and blogs! 🙂

Leave a comment